Here’s a practical, step-by-step guide to cleaning your toilet flush and making it look like new—without harsh scrubbing or damaging surfaces.
Materials Needed
- Rubber gloves
- Toilet brush or old toothbrush
- White vinegar
- Baking soda
- Mild dish soap
- Optional: disinfecting wipes or spray
Step 1: Initial Rinse
- Flush the toilet to wet the bowl and flush mechanism.
- Remove any loose debris from the flush handle area with a damp cloth.
Step 2: Clean the Flush Handle
- Dip a cloth or toothbrush in soapy water or use a disinfecting wipe.
- Scrub all sides of the handle and the area where grime builds up.
- Rinse with water.
Step 3: Tackle Mineral Deposits
- For hard water stains or lime buildup, soak a cloth in white vinegar and wrap it around the flush handle or bowl rim.
- Leave for 10–15 minutes, then scrub gently with a toothbrush.
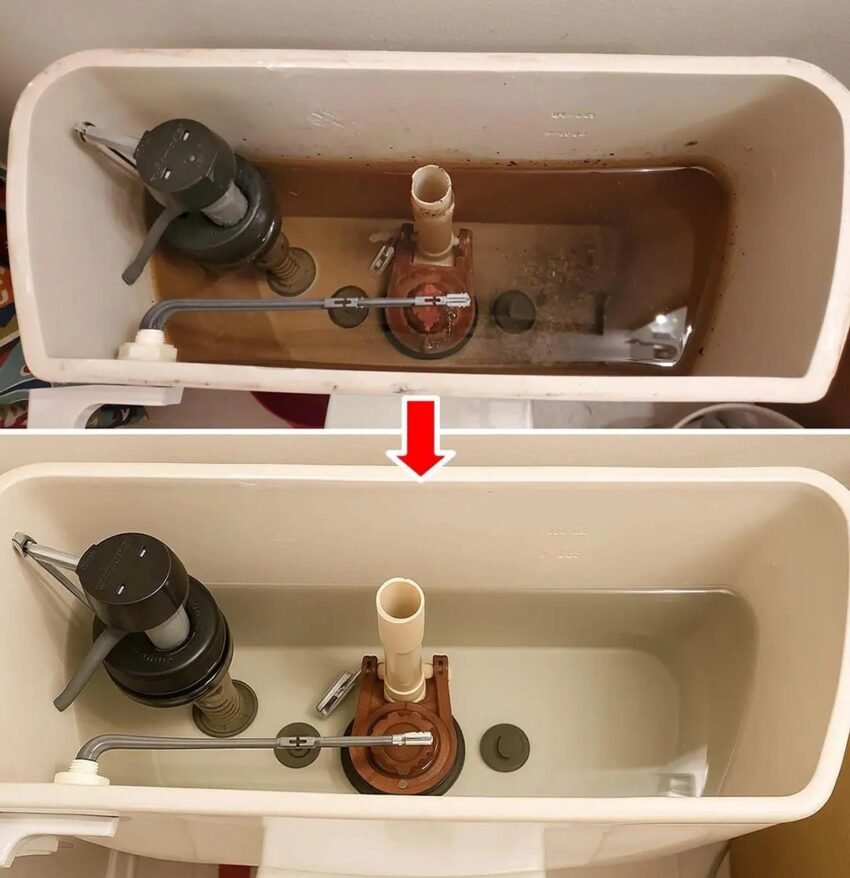
Step 4: Refresh the Flush Mechanism Inside the Tank (Optional)
- If your tank has visible buildup:
- Turn off the water supply and flush the toilet to empty the tank.
- Pour a cup of vinegar into the tank and let it sit for 15–20 minutes.
- Scrub gently with a brush or sponge.
- Turn the water back on and flush to rinse.
Step 5: Final Polish
- Wipe the exterior, seat, and handle with a damp cloth or disinfecting wipe.
- Flush once more to rinse the bowl and see the shine restored.
💡 Extra Tips:
- Regular weekly cleaning prevents buildup and keeps the flush sparkling.
- Avoid abrasive cleaners on plastic parts—they can scratch and dull the surface.
- For stubborn mineral stains, a paste of baking soda + vinegar can help lift grime safely.
If you want, I can make a super-fast 5-minute routine that keeps your toilet flush sparkling all the time—no harsh chemicals, just easy steps.
Do you want me to do that?